
Learning how to send an email using Gmail takes about two minutes, but knowing the extra features, the common pitfalls, and the shortcuts? That’s where most guides fall short. This step-by-step walkthrough covers everything: desktop, mobile, advanced sending options, and what to do when your real Gmail inbox isn’t the right tool for the job.
Gmail is the world’s most-used email platform, with over 1.8 billion active users. Whether you’re writing your first email or switching from another provider, this guide gives you the full picture.
What You Need Before You Start
To send an email using Gmail, you need one thing: a Gmail account. If you don’t have one, go to gmail.com and sign up — it’s free, takes under five minutes, and gives you 15GB of storage.
Already have an account? You can access Gmail from any browser at gmail.com, or from the Gmail app on Android and iPhone. No special software needed.
If you’re testing a workflow, signing up for a service you’re unsure about, or want to protect your main inbox, FreeMail’s temp Gmail tool gives you a disposable Gmail-style address instantly — no sign-up required.
How to Send an Email Using Gmail on Desktop
The desktop version of Gmail offers the most features and the cleanest experience for composing messages. Here’s the full process.
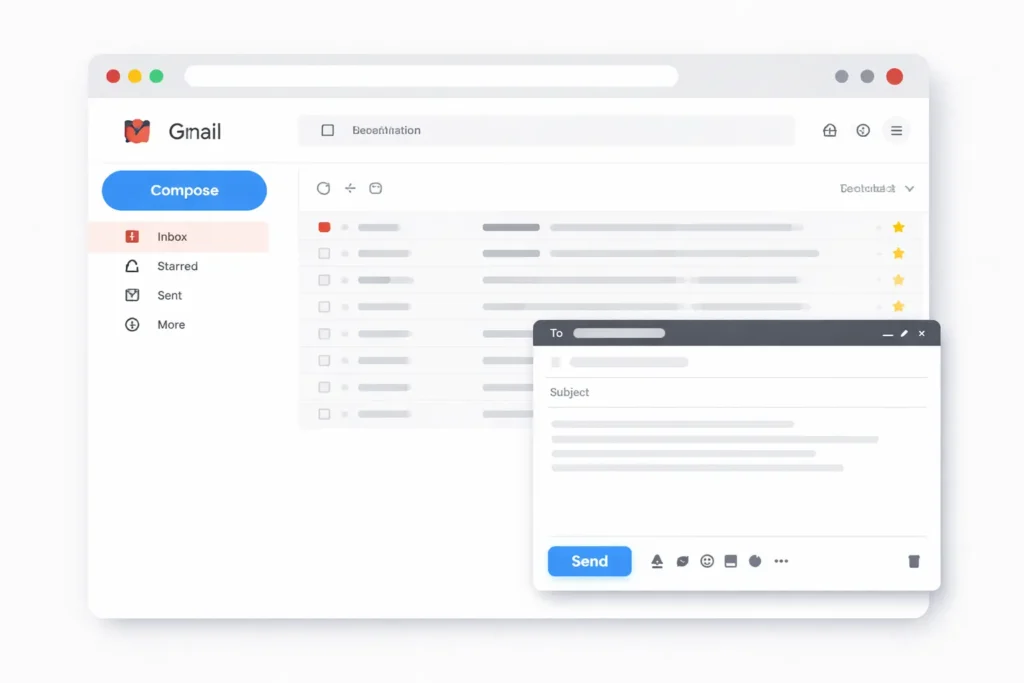
Open Gmail and Click Compose
Go to gmail.com in your browser and sign in. On the left side of your inbox, you’ll see a large Compose button with a pencil icon. Click it. A new message window opens in the lower right corner of your screen.
That small window is where everything happens. You can also expand it to full screen by clicking the arrow icon in the top right of the compose box — useful for longer emails.
Fill In the To, CC, and BCC Fields
In the To field, type the recipient’s email address. Gmail pulls up matching contacts as you type, which speeds things up. To send to multiple people, press Enter after each address.
Three fields matter here:
- To — the main recipient(s) of your message
- CC (Carbon Copy) — people who should see the email but aren’t the primary audience
- BCC (Blind Carbon Copy) — recipients who are hidden from everyone else on the thread
Click the CC or BCC link next to the To field to open those options. For instance, if you’re emailing a client and want your manager to see it without making that obvious to the client, BCC is the right call.
For regular group communication, the guide on how to make a mailing list in Gmail explains how to set up reusable contact groups so you don’t retype addresses every time.
Write a Subject Line That Gets Opened
The subject line is the first thing your recipient reads. Keep it under 60 characters and make it specific. “Following up on the project proposal” is better than “Following up.” “Invoice #1042 attached” is better than “Invoice.”
Vague subject lines get ignored. Specific ones get opened.
Type Your Message and Format It
Click in the body area and start writing. The formatting toolbar at the bottom of the compose window gives you bold, italic, bullet points, numbered lists, font size, and even link insertion. Use these to make longer emails easier to read.
Short paragraphs work better than walls of text, especially for people reading on mobile. As a rule, three to four lines per paragraph is plenty. In addition, if the email covers multiple topics, use line breaks to separate each one clearly.
Want to add some personality? Gmail fully supports emojis — click the smiley face icon in the toolbar or paste them directly from your keyboard. For tips on when and how to use them professionally, see this guide on using emojis in email.
Attach Files and Hit Send
To add an attachment, click the paperclip icon at the bottom of the compose window. Gmail allows attachments up to 25MB. For anything larger, Gmail automatically prompts you to send it as a Google Drive link instead.
A faster method: drag and drop a file directly into the compose window. Gmail accepts it on the spot.
When you’re ready, click the blue Send button at the bottom left of the compose window. Your email leaves immediately.
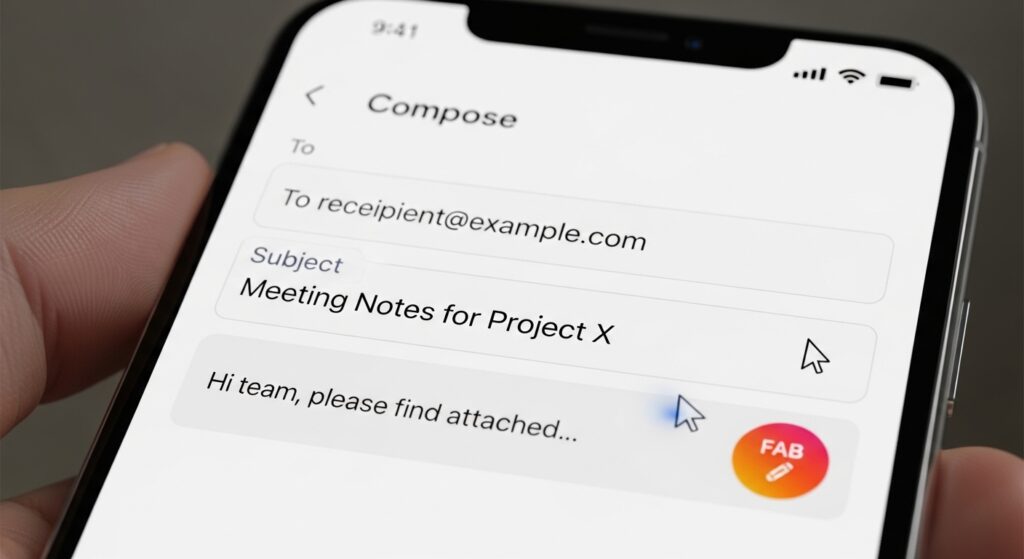
How to Send an Email Using Gmail on Mobile
The process to send an email using Gmail on a phone is nearly identical to the desktop experience. The app is available for both Android and iPhone.
Here’s how it works:
- Open the Gmail app on your phone
- Tap the Compose button — pencil icon, bottom right on Android, bottom center on iPhone
- Type the recipient’s address in the To field
- Add a subject line
- Write your message in the body area
- Tap the Send arrow in the top right corner
To access CC and BCC fields on mobile, tap the small down arrow on the right side of the To field. That reveals both options instantly.
Attachments work the same way — tap the paperclip icon to add files from your phone’s storage or Google Drive. One thing to note: some advanced text formatting tools aren’t available in the mobile app. In contrast, the web version gives you full control over formatting, tables, and font changes. For heavy formatting, the desktop version is more practical.
Send an Email Using Gmail — Advanced Features Worth Knowing
Once you’re comfortable with the basics, these features make your Gmail workflow faster and more professional. Most people never use them — and that’s a missed opportunity.
Schedule an Email to Send Later
You don’t have to send immediately. In the compose window, click the small down arrow next to the Send button. Select Schedule send, then choose a date and time. Gmail holds the email and delivers it exactly when you specify.
This is especially useful when you’re writing late at night and don’t want to ping someone at midnight. Similarly, it’s great for reaching contacts in different time zones during their working hours.
Undo Send Before It’s Too Late
Everyone has clicked Send too early. Gmail’s Undo Send feature gives you a five-to-thirty-second window to cancel a sent email. After clicking Send, a small Undo option appears at the bottom of your screen — click it fast.
To extend that window, go to Settings → See All Settings → General → Undo Send and set the cancellation period to 30 seconds. That extra buffer has saved countless emails from reaching the wrong inbox.
Send Confidential Emails in Gmail
Gmail’s Confidential Mode lets you set an expiry date on an email and block the recipient from forwarding, copying, printing, or downloading it. To use it, click the lock icon at the bottom of the compose window before you hit Send.
This is the right choice when you’re sharing sensitive information — financial details, personal data, or anything you’d prefer didn’t get forwarded around.
Common Mistakes People Make When Sending Gmail Emails
Knowing how to send an email using Gmail also means knowing what to avoid. These are the mistakes that come up most often:
- Forgetting the attachment: You write “see the attached file” and then forget to attach it. Attach the file first, then write the email — that order prevents the error.
- Hitting Reply All by accident: Before clicking Reply All, ask yourself if everyone on the thread actually needs your response. Most of the time, they don’t.
- Sending to the wrong address: Gmail’s autocomplete fills in contacts fast — sometimes too fast. Always check the To field before clicking Send, especially on short names that match multiple contacts.
- No subject line: Emails with blank subject lines often land in spam or get ignored. Always include one.
- Missing signature: A professional signature with your name, role, and contact details builds credibility. Set it up once in Settings → See All Settings → General → Signature and it appears on every email automatically.
For a deeper look at email writing best practices, the post on how to send someone an email covers tone, structure, and timing in detail.
When You Need a Temporary or Disposable Gmail Address
Sometimes you’d rather not use your main Gmail account. For example, if you’re signing up for a new service to test it out, verifying an account you don’t plan to use long-term, or keeping your personal inbox free of promotional emails — a disposable address makes more sense.
FreeMail.ai has several tools built for exactly this:
- Temp Gmail — Get a disposable Gmail-style inbox instantly, zero sign-up required
- Gmail Generator — Generate dot-trick Gmail address variations from your real Gmail account
- AI Mail Generator — Use AI to write and send email content automatically
- Email Generator — Create random or custom professional email addresses for testing, mockups, or privacy
If you send an email using Gmail regularly for multiple purposes — work, personal, testing — the guide on creating multiple email addresses is worth reading. In fact, managing separate addresses for separate purposes keeps your inbox organized and your privacy intact.
You can also find a broader walkthrough in the complete email guide if you want to go beyond just sending and learn the full lifecycle of email management.
Frequently Asked Questions
Can I send an email using Gmail without a Gmail account?
No — to send from Gmail, you need to be signed in to a Gmail account. If you only need to receive emails temporarily, FreeMail’s temp Gmail gives you a disposable receiving address without creating a full account.
How many emails can I send using Gmail per day?
Standard @gmail.com accounts can send up to 500 emails per day. Google Workspace accounts go up to 2,000 per day. If you hit the limit, Gmail blocks outgoing mail until the 24-hour window resets.
How do I send an email using Gmail on a Chromebook?
Open the Chrome browser, go to gmail.com, sign in, and click Compose. The process is identical to desktop. Chromebooks are built around Chrome, so Gmail runs exactly the same way.
Why is my Gmail not sending emails?
The most common causes: a weak or dropped internet connection, an invalid recipient email address, or an attachment that exceeds the 25MB limit. Check each of those first. Also confirm you haven’t exceeded the daily send limit.
Can I schedule emails in Gmail for free?
Yes. Schedule Send is available on all Gmail accounts at no cost — personal and Workspace. Click the small arrow next to the Send button and select Schedule send to pick your delivery date and time.